May 30, 2026 • Callum Reeve • 9 min reading time • Specs verified June 5, 2026
Whetstone Sharpening for Outdoor Knives: Grit Progressions, Angle Guides, and the Stones Worth Owning
A whetstone is a flat block of abrasive material — think of it like a very controlled sandpaper for metal — that you rub a knife blade across to grind away tiny amounts of steel and rebuild a sharp cutting edge. Unlike pull-through gadgets that just scrape metal off in a hurry, a whetstone lets you control the exact shape of the edge, which matters a lot for outdoor knives that need to handle everything from skinning game to carving feather sticks. If your blade has started skating off rope instead of biting in, or if you’ve just invested real money in a fixed blade and want it to stay performing, this guide walks you through grit progressions (the sequence of stone coarseness you work through), angle selection, and the specific stones that owners and long-run reviewers consistently point to as worth the shelf space.
Why Grit Progression Matters More Than the Stone Brand
Grit numbers describe how fine or coarse the abrasive particles in a stone are. Low numbers — 120, 220, 400 — are coarse and remove metal fast. High numbers — 1000, 3000, 6000, 8000 — are fine and refine the edge without taking much metal away. The general rule: start coarse enough to do the work, finish fine enough for the task.
The reason progression matters is that each grit leaves its own scratch pattern on the bevel (the angled face of the blade). A coarse stone cuts aggressively but leaves a toothy, rough edge — great for rope and cardboard, less ideal for push-cutting paper or skinning. A fine stone polishes those scratches into a smoother, keener edge, but it can’t fix geometry problems or remove a chip on its own. Skipping grits — jumping from 220 straight to 3000, for example — forces the fine stone to do work it wasn’t designed for, which either takes forever or leaves a mediocre result.
For most outdoor knives, Knife Steel Nerds’ sharpening series makes a useful distinction: edge retention (how long the sharpness lasts) is largely a steel and geometry question, while edge quality (how sharp you get it in the first place) is almost entirely a sharpening skill and grit-progression question. You can have CPM-3V steel in a beautiful Bark River and still ruin the edge by jumping grits or holding the wrong angle.
A practical grit map for field knives
| Starting condition | Entry grit | Mid grit | Finishing grit |
|---|---|---|---|
| Chipped or very dull | 220–400 | 1000 | 2000–3000 |
| Dull but intact | 400–600 | 1000–2000 | 3000–6000 |
| Maintenance touch-up | Skip | 1000–2000 | 3000–6000 |
| Final polish / strop | Skip | Skip | 6000–8000 + leather strop |
Outdoor Life’s field sharpening guide echoes this framework: for a hunting knife coming off a season, start at 400–600 to re-establish the bevel before refining. For weekly maintenance on an EDC fixed blade, a 1000-grit combo stone followed by a strop is usually all you need.
Angle: The Variable Most Beginners Get Wrong
The angle at which you hold the blade against the stone — measured from the stone’s face to the blade flat — determines the geometry of the edge. Get this wrong consistently and no grit progression fixes it.
The baseline rules:
- 15–17 degrees per side: Thin, acute edges suited to slicing tasks — fillet knives, hunting knives used primarily for skinning. More fragile under lateral stress.
- 20–22 degrees per side: The general-purpose outdoor knife sweet spot. Most production knives (ESEE, Benchmade, Spyderco) leave the factory here or close to it.
- 25 degrees per side: Robust, chip-resistant edges for hard-use choppers, bush knives, and blades that will pry or baton. Handles abuse better; less keen on push-cuts.
KnifeInformer’s whetstone buying guide notes that most new sharpeners consistently hold too shallow an angle — they aim for 20 degrees but drift to 15, producing an edge that feels sharp immediately after sharpening but folds over fast in use. The practical fix is to use an angle guide while you’re developing muscle memory.
Angle guides worth knowing:
The Edge Pro Apex and KME systems are guided-rod sharpeners that remove the angle-holding variable entirely. They’re excellent for expensive knives where a botched freehand session is painful. For pure whetstone work, cheap clip-on plastic guides (the Lansky angle guide style) get the job done while you’re learning. The goal, per long-run threads on BladeForums, is to eventually feel and hear the right bevel contact — a consistent, slightly scratchy sound at the apex — without needing the guide. Most people get there after 15–20 sessions.
The marker trick: Coat the bevel with a black Sharpie marker, make two or three strokes on the stone, then look at where the marker was removed. If the mark is gone from the very edge but intact higher on the bevel, your angle is too shallow. If it’s gone from the shoulder but the edge still has marker, you’re too steep. This is borrowed from the American Bladesmith Society’s teaching curriculum and it’s the fastest calibration tool available.
The Stones Worth Owning at Each Budget
Here’s where opinion matters, and where owner testimony diverges from spec sheets in useful ways.
Under $50 — The King KW-65 and similar Japanese synthetics
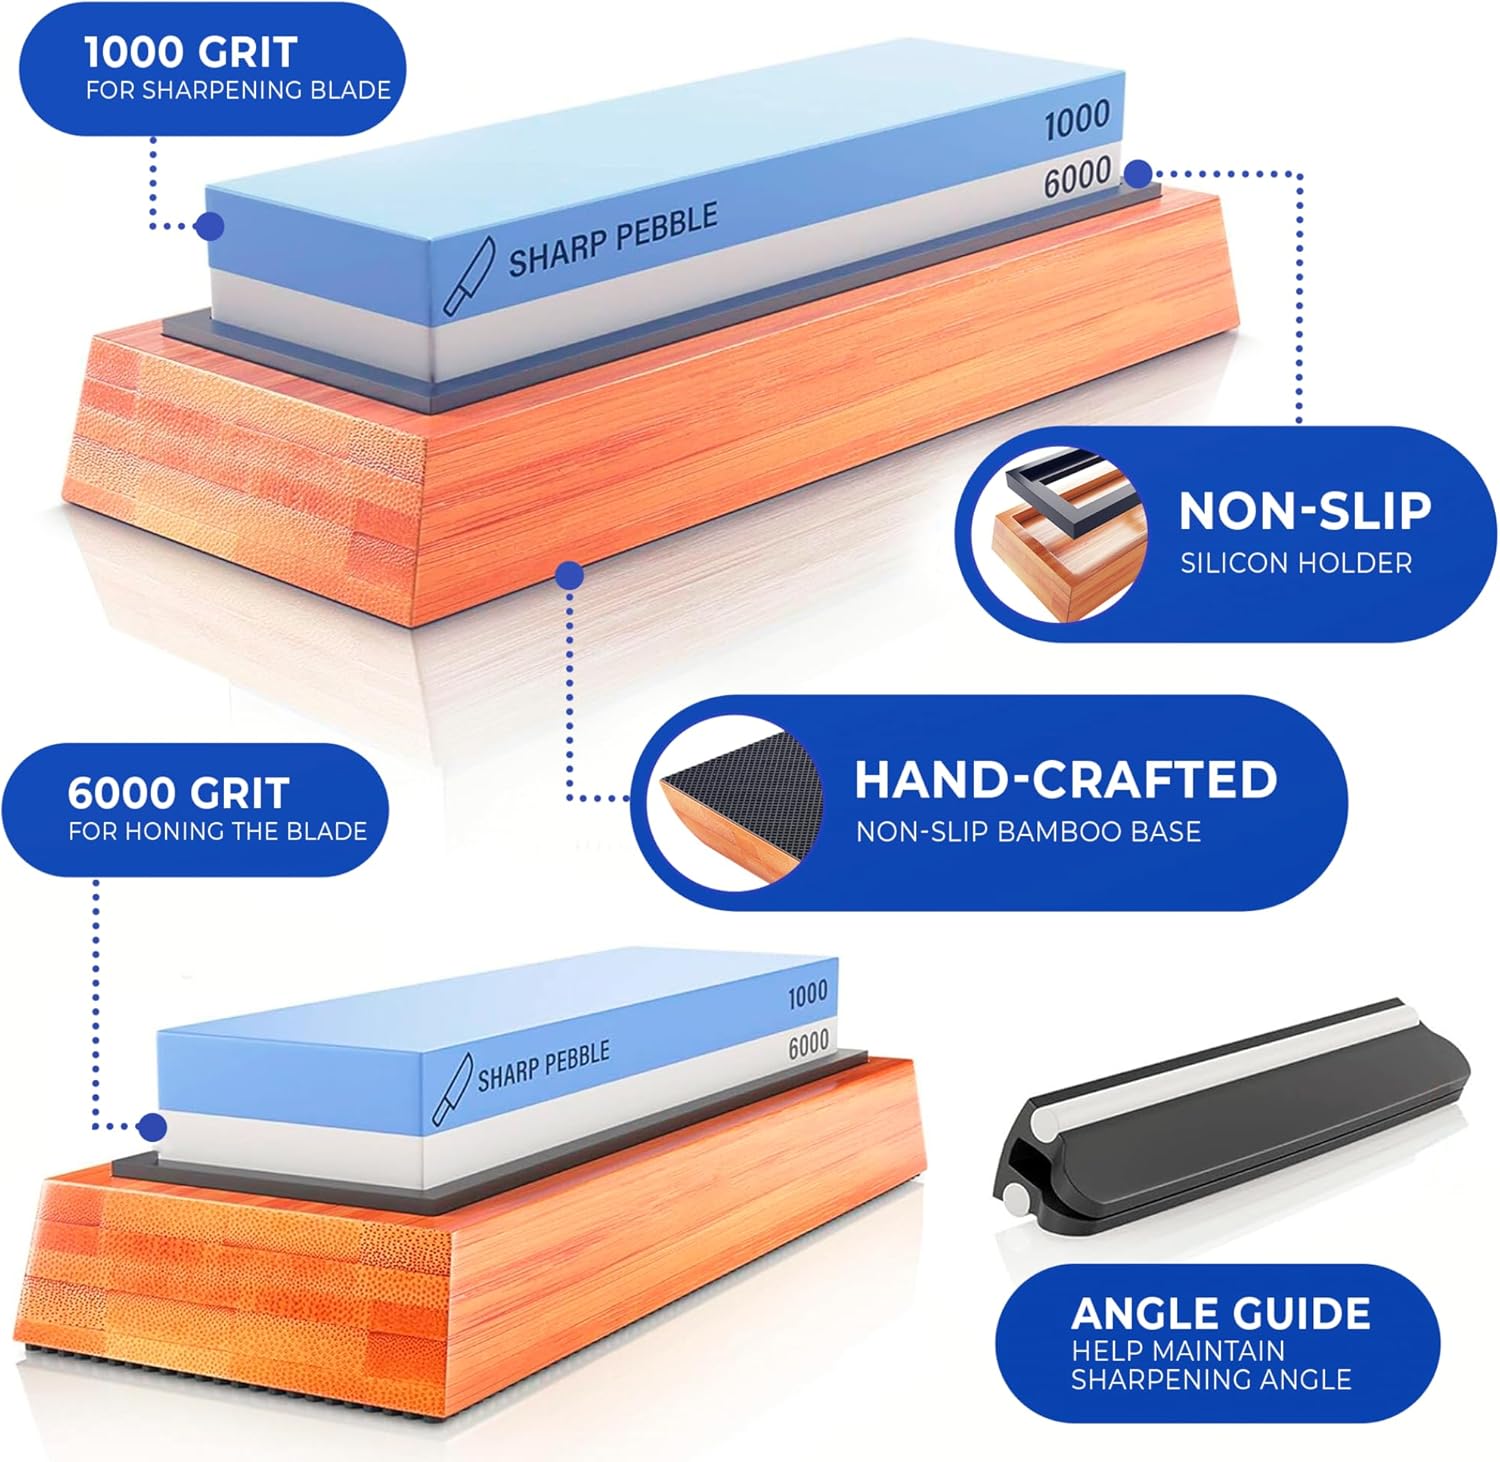
The King two-sided combo stone (typically 1000/6000 grit) shows up in nearly every beginner-to-intermediate recommendation for a reason: it’s a soft-bond water stone that dishes (wears concave) relatively quickly but cuts fast and finishes cleanly. Gear Junkie’s knife sharpener round-up consistently notes it as the “learn-on” stone because the soft bond exposes fresh abrasive frequently, making it forgiving for inconsistent technique. Owners report that dishing is the main maintenance issue — you’ll need to flatten it on a lapping plate or coarse wet-dry sandpaper on glass every few sessions.
The tradeoff: soft water stones wear fast under coarser steel or big reprofiling jobs. If you’re fixing chips or reestablishing a badly neglected edge, the King 1000 face will dish noticeably in a single session.
$80–$150 — Shapton Glass Stones and Norton Crystolon/India combos
Shapton Glass Stones are harder, faster-cutting synthetics that stay flat much longer than soft Japanese water stones. Owners on BladeForums’ sharpening subforum consistently call them the stones that survive real-world inconsistency — if you don’t flatten your stones after every session (most people don’t), the Shap-tons hold up where the King-style stones develop deep dishes. The 500, 1000, and 2000 grit options cover most outdoor knife work.
Norton’s Crystolon (silicon carbide) and India (aluminum oxide) combo stones work on oil or water and are the workhorses of the American hunting-camp tradition — slower than Japanese water stones but extremely durable, cheap to replace, and available at hardware stores worldwide. If your knife will mostly be sharpened in a truck tailgate situation with minimal setup, the Norton combination stone is hard to argue against.
$200–$400 — The Naniwa Chosera / Naniwa Professional series
These are the stones that serious bushcrafters and knife collectors point to when asked what they’d buy if price weren’t the first consideration. Naniwa Professional (formerly Chosera) stones cut fast, stay flat longer than most competition, and produce a consistent, repeatable edge. The 800, 2000, and 5000 grit stones cover reprofiling through fine polishing for virtually any outdoor blade.
The catch: at this price, you’re also paying for edge cases — very hard steels like CPM-10V or ZDP-189 that eat softer stones alive, or volume sharpening situations where you’re maintaining a client outfitter’s knife kit at the end of a season. For someone sharpening one or two personal knives occasionally, the Shapton Glass series does the job at half the cost.
The strop: the step everyone skips
A leather strop loaded with green chromium oxide compound (0.5 micron abrasive) is the last step in any sharpening sequence and arguably the most impactful-per-minute investment in the whole setup. After a 3000 or 6000-grit stone, ten to fifteen passes per side on a strop realigns and polishes the apex, removing the wire edge (the tiny burr of steel that folds over at the very tip) and producing the shaving-sharp finish that makes people say a knife is “scary sharp.”
Knife Steel Nerds’ writing on edge finishing is unambiguous on this: the strop-to-stone transition produces a larger improvement in push-cutting sharpness than moving from a 3000-grit stone to a 6000-grit stone. A $20 piece of vegetable-tanned leather glued to a wood block with $8 of compound beats a $100 extra stone for final edge quality.
Steel Considerations That Change the Equation
Not all steels sharpen the same way, and if you’re working on a premium blade, this matters.
Softer stainless steels (420HC, AUS-8, VG-1) are fast and easy to sharpen on any stone — the King 1000/6000 handles them fine. The tradeoff is that they don’t hold an edge as long.
High-carbide tool steels (CPM-3V, CPM-4V, S90V, S110V) have large carbide particles that create micro-serrations at the edge. Knife Steel Nerds’ steel composition database notes that very high-carbide steels can actually benefit from a slightly coarser finish — a 1000–2000 grit edge may outperform a highly polished 8000-grit edge in real cutting tasks because those micro-serrations help with draw cuts. Going to a mirror polish on S110V doesn’t necessarily improve field performance.
High-hardness blade steels at 60+ HRC (ZDP-189, M390, 20CV) will wear soft water stones fast. Shapton Glass or diamond plates (DMT, Atoma) are a better match for volume sharpening of these steels.
The Decision Rule
If you’re choosing a sharpening setup right now:
- First stone, $50 or less: King KW-65 combo (1000/6000) + leather strop. Covers 90% of outdoor-knife maintenance. Learn to flatten it.
- Serious outdoor user, $100–$150 budget: Shapton Glass 500 + 2000 + strop. Faster, flatter, more durable. The 500 handles reprofiling without wrecking the stone.
- Premium collector / outfitter kit, open budget: Naniwa Professional 800, 2000, 5000 + Atoma 140 diamond plate for flattening + loaded leather strop. This setup will handle every steel from AUS-8 to CPM-10V without compromise.
- If you’re sharpening only once or twice a year: Skip the elaborate kit. A Norton combo stone and a strop get the job done, won’t sit unused in a drawer, and cost under $40 combined.
The honest answer most owners arrive at: stone choice matters less than angle consistency and grit discipline. A $30 King stone used correctly outperforms a $300 stone used sloppily. Get the angle right, don’t skip grits, and strop every time — the steel and the maker’s geometry will do the rest.