September 9, 2026 • Callum Reeve • 11 min reading time • Specs verified June 5, 2026
Building a Complete Sharpening System Under $80: Stones, Strops, and the Right Progression
A sharpening stone is exactly what it sounds like: a rectangular block of abrasive material you rub a knife blade across to grind a new, keener edge. The coarser the stone’s grit number, the more metal it removes quickly; the finer the grit, the smoother and sharper the final edge. A strop — usually a strip of leather, sometimes loaded with a fine abrasive compound — is the finishing move: it aligns the microscopic “teeth” of the edge and removes the last whisker of metal burr (a thin, folded-over lip of steel) left by the stone. Together, a two- or three-stone progression plus a strop is all most people ever need to maintain a knife at peak performance. This guide builds that system from the ground up, names the specific stones worth your money under $80, and tells you exactly where the tradeoffs land — including the honest QC risks with kits and why some outdoor users are quietly switching from waterstones to diamond plates.
| EDITOR'S PICKSHAPTON Ha No Kuromaku Ceramic… | Mid-tierShapton K0702 Blade | Budget pickSharp Pebble Premium Whetstone… | |
|---|---|---|---|
| Grit | 1000 + 5000 | #1000 | 1000/6000 |
| Stones Included | 2 | 1 | 1 |
| Base | — | — | ✓ |
| Angle Guide | — | — | ✓ |
| Instructions | — | — | ✓ |
| Price | $99.80 | $38.93 | $37.97 |
| See on Amazon → | See on Amazon → | See on Amazon → |
Understanding the Progression: Coarse → Medium → Fine → Strop
Think of sharpening as a four-step funnel. Each step does one job.
Coarse (120–400 grit): Repairs damage, reprofiling a neglected edge, or setting a bevel from scratch. You only need this when the edge is genuinely wrecked — a chipped tip, a blade that’s been sharpened at the wrong angle for years, or a knife fresh from the factory with a mediocre grind. For maintenance, you can often skip this stage entirely.
Medium (800–1,000 grit): The workhorse stage. This is where you do the actual sharpening — raising a burr on one side of the blade and then flipping to remove it on the other. A burr is the key diagnostic: when you’ve ground enough metal, a tiny wire of steel folds over the edge and you can feel it with a fingertip or thumbnail. No burr, no sharpening has happened yet.
Fine (2,000–6,000 grit): Refines the scratch pattern left by the medium stone, thinning those micro-grooves into a smoother, more consistent edge. For most field knives doing camp tasks and food prep, this is where the stone work ends.
Strop: Leather under light pressure realigns the apex of the edge — the very tip of the “V” — and strips the last ghost of burr. The result is a noticeably keener bite than the fine stone alone delivers. A loaded strop (one dressed with chromium oxide compound, a green paste available for a few dollars) adds a small amount of abrasion and can functionally stand in for a 6,000–8,000 grit finishing stone.
By the numbers:
| Stage | Grit range | Primary job |
|---|---|---|
| Coarse | 120–400 | Reprofile / repair |
| Medium | 800–1,000 | Raise and remove burr |
| Fine | 2,000–6,000 | Refine scratch pattern |
| Strop | N/A (leather) | Align apex, remove residual burr |
The Entry System: King KW65 + Leather Strop (~$35–$45 total)
If you own one stone, own the King KW65. It’s a combination waterstone — 1,000 grit on one face, 6,000 grit on the other — that long-run reviewers on Blade Forums explicitly frame as the learn-without-spending-a-fortune entry point. The 1,000-grit side cuts efficiently enough to raise a burr on most steels in a reasonable number of strokes; the 6,000-grit side refines that edge to a point that will shave arm hair and handle everything a camp or kitchen knife needs to do.
Reviewers consistently recommend pairing YouTube tutorials with this stone specifically — not because it’s complicated, but because technique matters far more than equipment at this stage, and video feedback is the fastest way to calibrate your angle and pressure. A knowledgeable friend watching your stroke is worth more than an expensive stone; good video is the next-best thing.
The honest limitation: King stones are aluminum oxide binders — traditional Japanese waterstone construction. They dish (wear concave in the center) over time with heavy use and need periodic flattening with a lapping plate or diamond plate to stay effective. They also require soaking in water before use — typically 5–10 minutes — and splash-and-go is not a full substitute (more on that in the FAQ). For a beginner sharpening at a kitchen counter, this is no problem. For an outdoor user who sharpens infrequently or in the field, it creates friction.
A basic leather strop — a piece of veg-tan leather glued smooth-side-up to a wood backing — rounds out the system for under $15 more. Load it with a $5 tube of chromium oxide compound and you have a legitimate finishing tool.
Total for this system: approximately $35–$45 depending on sourcing.
The Upgrade Path: Adding Shapton Kuromaku
Reviewers who’ve moved from the King KW65 to the Shapton Kuromaku (also sold under the “Shapton Glass Stone” series in some markets) describe two consistent changes: better tactile feedback during sharpening and noticeably faster cutting speed. The Kuromaku is a harder, splash-and-go stone — no soaking required — that cuts more aggressively for its grit rating and dishes more slowly than traditional binders.
Knife Steel Nerds’ sharpening abrasives overview explains why: Shapton uses a harder bond system that keeps fresh abrasive exposed longer before the stone glazes. The tradeoff is that harder stones give less “cushion” under the edge, which makes them slightly less forgiving of angle inconsistency — something that matters less as your technique improves.
The most practical upgrade path for someone starting with a King KW65:
- Keep the King’s 6,000-grit side for medium-fine work.
- Add a Shapton Kuromaku 1,000-grit (orange) or 2,000-grit (green) as your primary sharpening stone.
- Strop to finish.
This costs roughly $40–$55 for the Shapton alone, which pushes the combined system to $65–$80 — right at the ceiling of this guide’s budget. The payoff is a faster, more consistent sharpening session and a stone that lasts longer under regular use.
The Diamond Alternative: Sharpal and the Case for No-Mess Sharpening
Outdoor knife users — hunters, guides, anyone sharpening infrequently or in conditions where soaking a stone is impractical — have been switching to diamond plates in meaningful numbers, and the reason is almost always the same: no soak, flat surface, no mess. Diamond stones don’t dish, don’t require water preparation, work with just a drop of water or honing oil, and are ready to use instantly.
Aggregated reviews of the Sharpal diamond stone series show a nearly unanimous pattern among former waterstone users: the workflow change alone — not the sharpening quality — was the reason they switched. Diamond cuts fast on hard steels like D2 and S30V that can be slow on aluminum oxide stones, and a diamond plate that stays flat is genuinely easier to maintain consistent angle on than a dished waterstone.
The tradeoff is feel. Diamond plates give blunter tactile feedback than waterstones — it’s harder to “read” the edge through the stone as you work. They also cut very aggressively, which is a liability if your angle control is still developing. And the abrasive coating on budget diamond plates does wear over time, though quality plates from established makers last several years of regular use under typical owner reports.
For the under-$80 budget, a coarse/fine combination diamond plate (roughly $30–$45) paired with a leather strop is a legitimate alternative system — not a compromise. It’s genuinely better suited to some users and some use cases than a waterstone setup.
Kit vs. Individual Stones: The QC Argument
Kits seem like an obvious choice at this budget: one purchase, multiple grits, often a base or storage box included. The reality is more complicated.
Verified purchaser reports on the Intelitopia sharpening kit include multiple accounts of a stone fragmenting or chipping on unboxing — a fragile stone that doesn’t survive shipping is a legitimate QC risk, not an edge case. When you buy individual stones from established makers like King, Shapton, or Sharpal, you have brand reputation and a more consistent quality floor. When you buy a bundled kit, you’re accepting the QC variance of whatever the kit assembles.
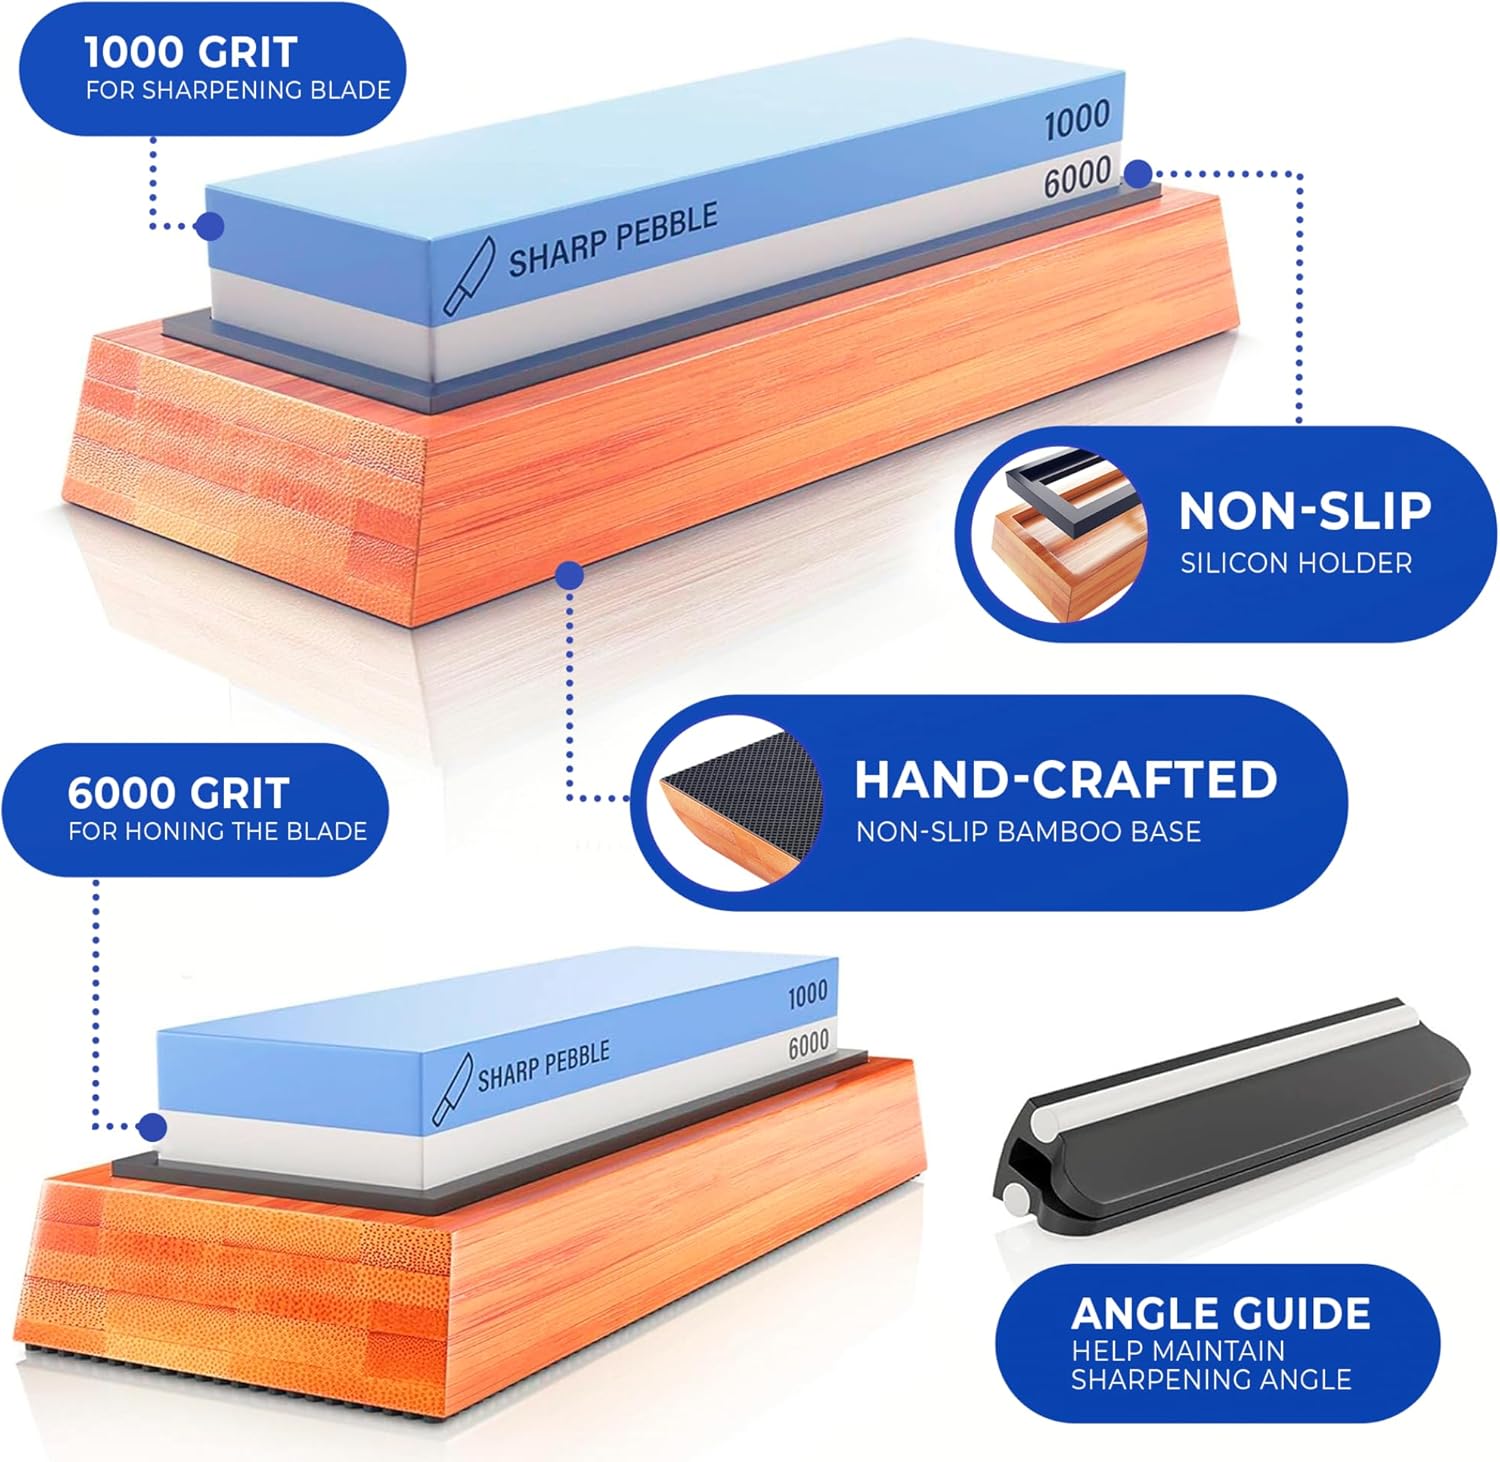
The Sharp Pebble situation is worth naming directly because it builds the kind of trust readers deserve. A subset of detailed reviewers identified that Sharp Pebble’s combination stone appears to source from the same OEM factory as several unbranded stones available under generic search terms — meaning you can sometimes find the identical stone at a lower price by searching for the unbranded version. This is the kind of market transparency that’s genuinely useful: the product quality is real, the brand premium is partly for packaging and Amazon presence. Whether that premium is worth it to you depends on how much you value the return-service infrastructure.
Frequently Asked Questions
Do diamond sharpening stones wear out and how long do they last?
Yes, the abrasive diamonds do wear over time — they’re bonded to a metal or plastic substrate and the coating thins with use. Quality plates from established makers under typical home-use patterns last several years before cutting noticeably slower. Budget plates from unknown sources can lose their aggressiveness within months of regular use. Aggregated owner reports suggest quality monocrystalline diamond plates significantly outlast cheap electroplated versions.
Is the King KW65 actually good enough to sharpen hard steels like D2 or S30V?
Yes, with patience. The 1,000-grit aluminum oxide side will raise a burr on D2 and S30V — it just takes more strokes than on softer steels. If you’re regularly sharpening high-hardness steels (above ~60 HRC), a diamond plate or silicon carbide stone will do it faster, but the King is not disqualified for the task.
What does a leather strop add that a fine-grit stone doesn’t already do?
A fine stone leaves microscopic scratches and a ghost burr — a folded-over edge too thin to feel but present enough to reduce the keenness of the apex. Leather under light pressure realigns those micro-teeth and shears off the residual burr without removing additional material. The result is a “toothy-but-smooth” edge that bites cleanly into material rather than skating. It’s a real, perceptible improvement — not sharpening mythology.
How do I know when I’ve moved the burr successfully from one side to the other?
The burr forms on the side opposite the one you’re grinding. Drag your thumbnail lightly from spine to edge on the non-working side — the burr feels like a slight catch or roughness. When you flip and grind the other side, that burr should transfer: it now catches on the first side. A complete, even burr along the full edge length means you’ve reached the apex. Inconsistent burr (only present at part of the edge) means your pressure or angle wasn’t consistent.
Can I use the same whetstone for kitchen knives and outdoor carbon steel knives?
Yes, with one caveat: rinse the stone thoroughly after use with carbon steel to prevent contamination that could accelerate rust on sensitive blades. Waterstones don’t “carry” steel from one knife to the next in any meaningful way for sharpening quality, and there’s no metallurgical reason to separate kitchen and field stones. Practical hygiene (rinsing, drying, storage) is the only concern.
Is soaking a whetstone really necessary or is splash-and-go just as effective?
For soft Japanese-binder stones (like King), soaking matters. The water that absorbs into the porous stone acts as a lubricant and helps float the swarf (metal and abrasive particles) away from the surface during sharpening. Splash-and-go keeps the surface wet but doesn’t saturate the stone — you’ll load it faster and the stone can glaze more quickly. For harder-binder stones like Shapton, or for diamond plates, splash-and-go is genuinely sufficient because the non-porous surface doesn’t rely on absorbed water.
The Decision Rule
If you sharpen at home, at a table, on a semi-regular schedule, and you’re learning technique: start with the King KW65 and a leather strop. Spend the remaining budget on good tutorial time rather than gear.
If you sharpen infrequently, in outdoor conditions, or you’re working with high-hardness steels like D2, S30V, or CPM-3V regularly: go with a quality diamond combination plate and a strop. The no-prep, no-dish workflow removes real friction from the habit.
If you’re ready to upgrade a working King system and want meaningfully better feedback and speed: add a Shapton Kuromaku in 1,000 or 2,000 grit. Keep the King’s 6,000 side or lean on the strop as your finisher.
Whatever you choose, buy individual stones rather than kits at this budget level. The QC risk isn’t worth the convenience premium — and the skill is in your hands, not the packaging.